Monday, September 28, 2015

Disneyland!

I love, love, love Disney and our big family trip was 3 days in Disneyland!  We went back in April, so this post is a bit late.  It was Logan's 2nd time and Simone's 1st time there.  We were able to go offseason and mid-week, so the roadtrip was fairly quick and easy and the crowds weren't bad at all.  I think the longest we stood in line was 20 mins.  To prepare for the trip, I made clothes for us to get into the Disney spirit!

Simone got two Minnie Mouse dresses.  I found a cute Minnie smock fabric at Joann's and this was the easiest dress to make.  I just sewed down the edge to make a tube and added ribbon for straps.


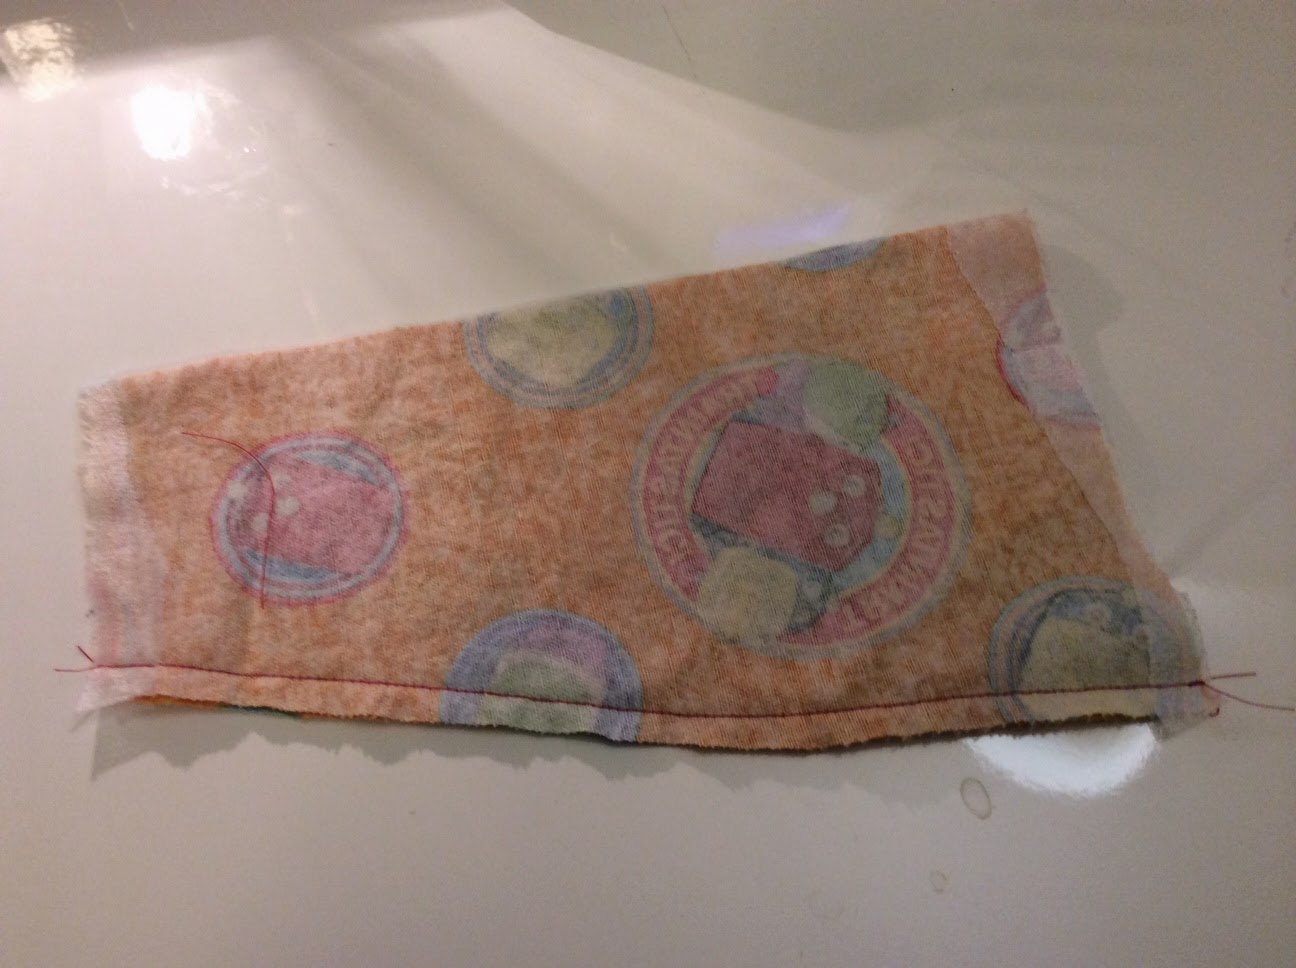
Simone found the second Minnie Mouse fabric in the remnant bin at Joann's.  I tried to make a cute bubble dress, but the remnant didn't have quite enough fabric to make the bubble that visible.  I was also running out of fabric for the bodice and ended up doing a little peekaboo back.  I think it turned out pretty cute!


I wanted to have a family theme day at Disney.  Logan didn't want anything to do with princesses and Simone did not want anything to do with Planes, so Monsters was a happy medium.  I painted shirts for Fred, Logan, and myself.  Simone dressed up as Boo, so I made a simple jacket and decorated the with yarn, felt, pipe cleaners, and styrofoam balls.  It was insanely hot, so the jacket only made an appearance for the picture!

Fred as Sully, Logan as Mike, Simone as Boo, and me as Boo's door.


A better picture of the kids

All in all, it was a great trip and the kids still talk about Disneyland!

Thursday, September 24, 2015

R2D2 Cake

I don't really bake, but when I do, it's just Christmas and birthdays and my "baking" is making Rice Krispie treats.  This year, I wanted to make Logan's birthday special and decided to make him a R2D2 cake.  I roughly followed this post, but just used cake mix and store bought icing.  It was my first time piping icing - not bad for a newb!

Wednesday, September 23, 2015

Lego Star Wars Shirts

I can't believe my first baby turned 5 last month.  Logan wanted a Lego Star Wars birthday party, so I make some shirts for the family to wear.  It was my first time using freezer paper stencils and they are so easy!

I searched for Lego images for various characters.  Logan chose his favorites - R2D2 and C3P0.  Simone's shirt has Princess Leia and an Ewok, Fred's has Chewbacca and Han Solo in Carbonite and my shirt has Yoda.

I just traced around the images and cut out the stencils.


Ironed them on to the shirt.

Painted

Waited....

Done!


For Han Solo in Carbonite, I used 2 layers of gray paint.  I think it turned out pretty nicely.  Next time, I need to make sure the freezer paper is sticking properly.  The paint ended up bleeding through the Ewok hood.  And, from the excess splatters, I was a bit paint happy.


Monday, May 5, 2014

Template - Sanrio Party Favors!

The kids and adults loved the party favors at Simone's birthday party!  There were easy to make and can be easily customized.


Here is the template and instructions for both the Hello Kitty headband and My Melody flower clips.  I bought the headbands and hair clips on Amazon, but I think they can be found at local craft or beauty supply stores.

For the Badtz Maru shades, I just cut spikes out of cardstock and glued it on shutter shades.

Monday, April 14, 2014

Sanrio Birthday Party!!!

We had Simone's birthday part over the weekend at a local park this weekend and I can't believe my baby is 1!  I love making things for the kids' birthday parties, mainly because I know that sooner rather than later, my kids will get older and want something cooler than their Mom's ideas.  So, the theme for Simone's party was Sanrio characters.  Hello Kitty usually gets all the attention, but I think there are so many cute characters.

Since we were at the park, the decorations were minimal, but I focused on party favors, labels and dessert.  For the party favors, I made Hello Kitty headbands and My Melody flower hair clips for the girls and Badtz Maru shades for the boys.

The bows were made out of felt and sewed down the middle and glued it on the headband.


The hair clips were also made out of felt and it actually also looks like a fried egg.


For the Badtz Maru shades, I cut out little spikes on cardstock and glued it on shutter shades.


After much cajoling, here Logan's best Badtz Maru face.


I also made marshmallow pops for the kids which were decorated with some of my favorite Sanrio characters


Last but not least was her rice krispies birthday cake.  I can't really bake, so rice krispies is my medium of choice.  I made fondant Pochacco, Keroppi, My Melody, Hello Kitty, and Little Twin Stars.   It's hard to tell, but they're supposed to spell "Simone."


Thursday, April 10, 2014

Easy PJ Top - Applique and Sleeves

I semi-homemade a PJ top to match Logan's Chuggington PJ pants.  It's actually a cheater version since I just used a plain blue T shirt and added a few appliqués and sleeves.  I love these easy projects!  I think most of my sewing involves tracing my kids' clothes.

This is what I used

  • Leftover Fabric
  • Matching Thread
  • Paper backed fusible webbing
  • Stabilizer (I got the iron on kind)
  • T shirt - any will do
Traced one of Logan's long sleeve shirts to measure out the sleeves, leave 1/2-1inch seam allowance

Press fusible webbing to fabric and cut out designs from the to use as appliqués

Remove paper backing from the webbing and iron on appliqué to shirt

Iron on the stabilizer on the wrong side of the T shirt and sew around using zig zag stitch.  It's hard to tell from the pictures, but the red train appliqué did not have the stabilizer, and the result is some puckering.

Sew sleeves together using straight stitch

Pin sleeve to T shirt, wrong side together and sew sleeve unto T shirt using straight stitch

Hem sleeve according to seam allowance.


Done!

Wednesday, April 9, 2014

Easy PJ Pant - No Pattern Needed!

Most of the stuff I've been making have been for Simone and Logan is beginning to feel a bit left out.  I decided to make pj pants out of Chuggington flannel fabric I got at Joann's.  Apparently, Chuggington is now his favorite, not Thomas.  These are really easy and I have been making similar pants for his Halloween costumes.  The pictures are actually quite terrible.  I definitely need to work on that!


  • 1/2 yard of fabric (this was enough for 4T size pants)
  • matching thread
  • elastic (measure length based on an existing pair of pants)
Fold fabric in half based on where you want the outside pant leg to be

Place an existing folded pair of pants on the fabric and trace.  Leave 1/2 - 1 inch seam allowance all around except the top, where the elastic will be.  For the top leave 1 inch seam allowance + width of elastic

Repeat above steps for second pant leg


On the wrong side of the fabric, pin where the front and bum are supposed to be and sew (straight stitch) according to the seam allowance


Pin pant legs together and sew (straight stitch) according to the seam allowance

Fold 1/2 inch hem on the bottom of the pant legs and iron.  Fold 1/2 inch and iron again.

Sew hem using straight stitch

For the top, fold 1/2 inch and iron.  Fold the width of elastic + 1/2 inch and iron

Pin one end of elastic in place and sew, using straight stitch, as close to the fold as possible until there is only a 2-3 inch hole

Pull elastic until you get the desired stretchiness and sew elastic together using

Sew 2-3inch hole close, be sure to pull the elastic so the fabric will not be puckered.

Turn pants inside out and you're done!


Logan was super excited when he saw them and then proceeded to ask for a shirt that matched!