Monday, May 5, 2014

Template - Sanrio Party Favors!

The kids and adults loved the party favors at Simone's birthday party!  There were easy to make and can be easily customized.


Here is the template and instructions for both the Hello Kitty headband and My Melody flower clips.  I bought the headbands and hair clips on Amazon, but I think they can be found at local craft or beauty supply stores.

For the Badtz Maru shades, I just cut spikes out of cardstock and glued it on shutter shades.

Monday, April 14, 2014

Sanrio Birthday Party!!!

We had Simone's birthday part over the weekend at a local park this weekend and I can't believe my baby is 1!  I love making things for the kids' birthday parties, mainly because I know that sooner rather than later, my kids will get older and want something cooler than their Mom's ideas.  So, the theme for Simone's party was Sanrio characters.  Hello Kitty usually gets all the attention, but I think there are so many cute characters.

Since we were at the park, the decorations were minimal, but I focused on party favors, labels and dessert.  For the party favors, I made Hello Kitty headbands and My Melody flower hair clips for the girls and Badtz Maru shades for the boys.

The bows were made out of felt and sewed down the middle and glued it on the headband.


The hair clips were also made out of felt and it actually also looks like a fried egg.


For the Badtz Maru shades, I cut out little spikes on cardstock and glued it on shutter shades.


After much cajoling, here Logan's best Badtz Maru face.


I also made marshmallow pops for the kids which were decorated with some of my favorite Sanrio characters


Last but not least was her rice krispies birthday cake.  I can't really bake, so rice krispies is my medium of choice.  I made fondant Pochacco, Keroppi, My Melody, Hello Kitty, and Little Twin Stars.   It's hard to tell, but they're supposed to spell "Simone."


Thursday, April 10, 2014

Easy PJ Top - Applique and Sleeves

I semi-homemade a PJ top to match Logan's Chuggington PJ pants.  It's actually a cheater version since I just used a plain blue T shirt and added a few appliqués and sleeves.  I love these easy projects!  I think most of my sewing involves tracing my kids' clothes.

This is what I used

  • Leftover Fabric
  • Matching Thread
  • Paper backed fusible webbing
  • Stabilizer (I got the iron on kind)
  • T shirt - any will do
Traced one of Logan's long sleeve shirts to measure out the sleeves, leave 1/2-1inch seam allowance

Press fusible webbing to fabric and cut out designs from the to use as appliqués

Remove paper backing from the webbing and iron on appliqué to shirt

Iron on the stabilizer on the wrong side of the T shirt and sew around using zig zag stitch.  It's hard to tell from the pictures, but the red train appliqué did not have the stabilizer, and the result is some puckering.

Sew sleeves together using straight stitch

Pin sleeve to T shirt, wrong side together and sew sleeve unto T shirt using straight stitch

Hem sleeve according to seam allowance.


Done!

Wednesday, April 9, 2014

Easy PJ Pant - No Pattern Needed!

Most of the stuff I've been making have been for Simone and Logan is beginning to feel a bit left out.  I decided to make pj pants out of Chuggington flannel fabric I got at Joann's.  Apparently, Chuggington is now his favorite, not Thomas.  These are really easy and I have been making similar pants for his Halloween costumes.  The pictures are actually quite terrible.  I definitely need to work on that!


  • 1/2 yard of fabric (this was enough for 4T size pants)
  • matching thread
  • elastic (measure length based on an existing pair of pants)
Fold fabric in half based on where you want the outside pant leg to be

Place an existing folded pair of pants on the fabric and trace.  Leave 1/2 - 1 inch seam allowance all around except the top, where the elastic will be.  For the top leave 1 inch seam allowance + width of elastic

Repeat above steps for second pant leg


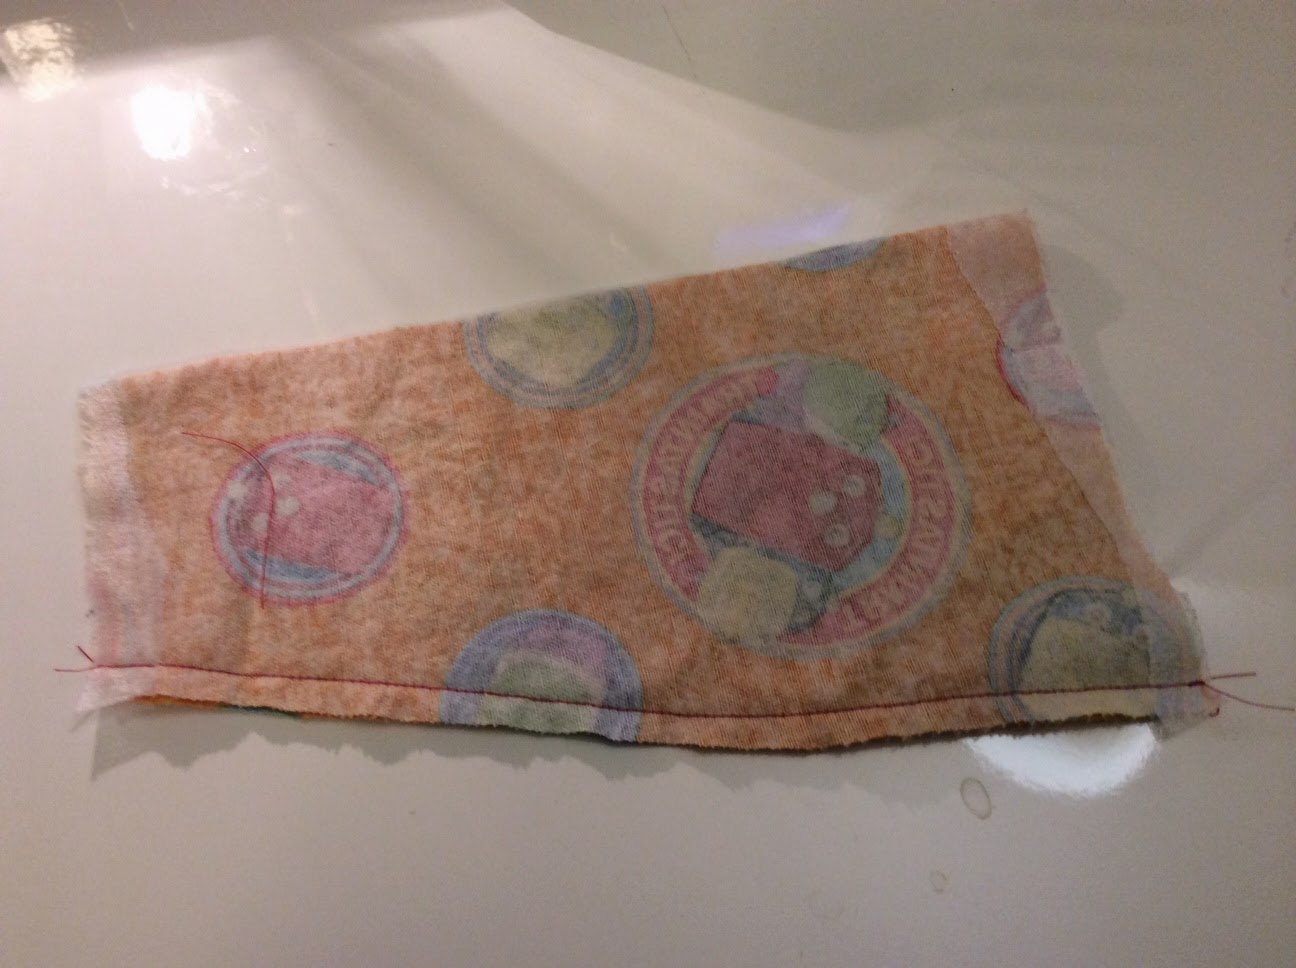
On the wrong side of the fabric, pin where the front and bum are supposed to be and sew (straight stitch) according to the seam allowance


Pin pant legs together and sew (straight stitch) according to the seam allowance

Fold 1/2 inch hem on the bottom of the pant legs and iron.  Fold 1/2 inch and iron again.

Sew hem using straight stitch

For the top, fold 1/2 inch and iron.  Fold the width of elastic + 1/2 inch and iron

Pin one end of elastic in place and sew, using straight stitch, as close to the fold as possible until there is only a 2-3 inch hole

Pull elastic until you get the desired stretchiness and sew elastic together using

Sew 2-3inch hole close, be sure to pull the elastic so the fabric will not be puckered.

Turn pants inside out and you're done!


Logan was super excited when he saw them and then proceeded to ask for a shirt that matched!

Wednesday, March 19, 2014

Time To Do Hair

Simone was born with a full head of hair and now it has gotten pretty long for a baby.  I love being able to play with her hair and using clips and bows.  I made a few rose hair clips and they were super easy!  Less than 5 minutes with felt, hair clip, and a hot glue gun!


I found a tutorial for felt roses here, but instead of scalloping the edges, I just cut it straight.  It was much easier and faster.  I just added a leaf, glued everything together and then I was done!

Monday, February 17, 2014

Hello Kitty Crayons

Even though Simone's birthday isn't until April, I've been thinking about different ideas for themes, party favors, and decorations.  This weekend I made Hello Kitty crayons!  I followed the tutorial here and it was quick and easy.  I found a Hello Kitty mold on Amazon and used leftover party favor crayons from Logan's birthday last year, which were only 25 cents/box!

First, I broke the crayons into smaller pieces and mixed up the colors


I didn't really time how long it took to melt, but according to the tutorial, it should be 25mins.  I just waited for the crayons to harden before popping them out of the mold.


 They came out okay, but I think I mixed up the colors a bit too much.  Next time I'll stick with the same color family.  These took 4 crayons/mold.  If I make more, I'll look for smaller molds.


Friday, February 7, 2014

February Goals

Hmmm, I got to cross a couple of things off of my January list.  I realized that I need to be more specific in my goals so I won't end up rationalizing everything away. 

January Goals

Family

  • Continue to read Meaning of Marriage with Fred - Sadly, no progress after I made this a goal.
  • Do 1 lesson a week with Logan - Somewhat a success, we've been working on counting to 100.
  • Read 1 story before bedtime with Simone - Sadly, did not work this into her bedtime routine.

Career

  • Update resume - Done!
  • Apply for interesting jobs - Still looking.
  • Learn new skills - Add SW experience and learn about web design.  Nothing done here =(

Crafts

  • Do one sewing project - Done!  I made a blanket for my nephew's 1st birthday!

Financial

  • Don't buy any more clothes for Logan and Simone - between Christmas presents and hand me downs, they have more than enough! - Success!  Didn't buy any new clothes for the kids last month! It was actually quite hard.  Cute baby/kids clothes are my greatest weakness.
  • Bring lunch to work at least 3x a week - Eh, definitely need to work on this.  I made it 2 - 3x a week.


February Goals

Family

  • Read at least 1 chapter of Meaning of Marriage with Fred
  • Do 1 lesson a week with Logan - sight words, numbers, art, music, etc.
  • Read 1 story before bedtime with Simone - Started last night!

Career

  • Look for interesting jobs and apply - At least spend 3x nights a week to look
  • Learn new SW skill - At least check out a book from the library

For Fun

  • Do one sewing project for Logan - pj pants?  bean bags?
  • Do one craft project for Simone - knitted blanket? hair clips?
  • Make 1 slow cooker/1 pot meal a week - Need recipes

Financial

  • Don't buy any more clothes for the kids
  • Bring lunch to work at least 3x a week